How to Install Beadboard
How to install beadboard paneling over drywall, how to install beadboard wainscoting, how to install laminate flooring, how to tie a tie, how to install ring doorbell, how to download youtube videos, how to install beadboard in bathroom, how to install a toilet, how to take a screenshot, how to install beadboard paneling outside corners, how to install beadboard ceiling, how to install minecraft mods, how to install kodi on fire stick, how to install a dishwasher, how to make google my search engine, how to install beadboard backsplash.
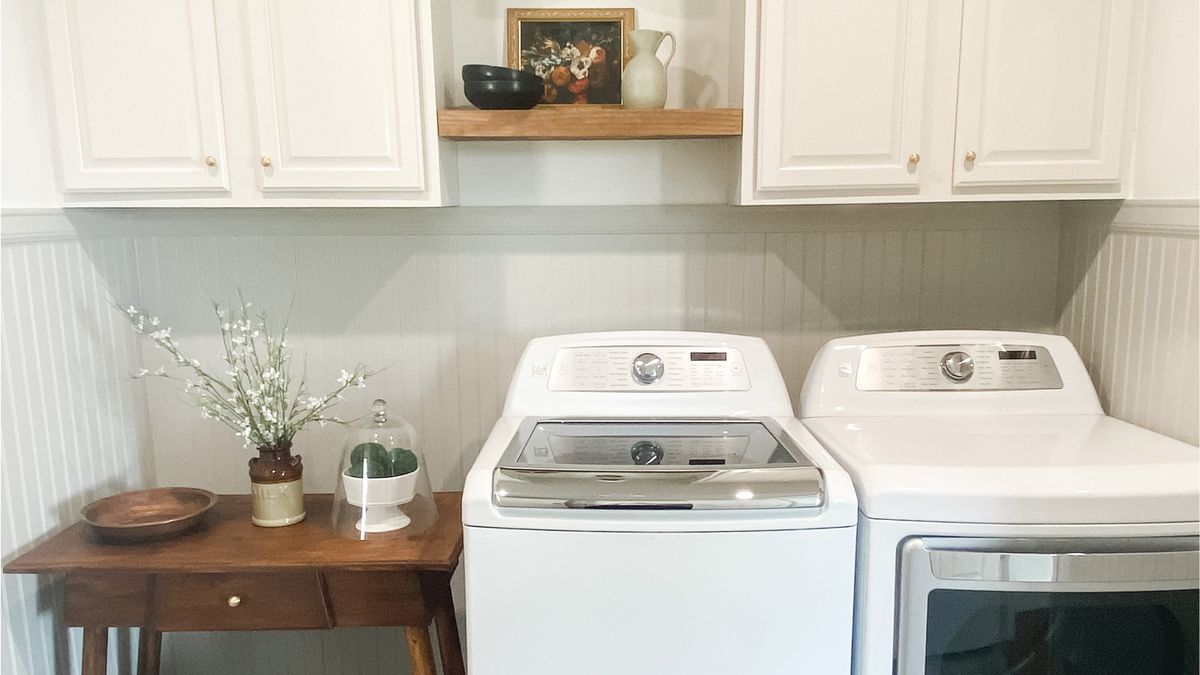
Beadboard can add such narrate and charm to a room it's no wonder there has been a resurgence in popularity of this sure wall treatment as of late. And should you want to know how to install beadboard yourself, it is within the capability of most DIYers – as long as your have the vivid power tools.
The first thing to determine is how high you want your beadboard to go on your wall. Beadboard can be installed in varying heights; nonetheless, you don't want to go any lower than a third of your total wall height. For instance, if you have nine foot ceilings, you don't want to install your beadboard any frontier than 36 inches from the floor.
Traditionally, beadboard is installed half or two-thirds of the way up from the along for a classic paneling design. With this particular application, I chose sheets of 4'x8' beadboard to suit my station. There are also smaller sheets or "planks" of beadboard but if you are covering a spacious area I would definitely recommend the sheets. Your local hardware continue can help you rip these sheets down once you've distinct your wall lengths, otherwise you will need to cut them yourself. So we measured up before buying.
Skill Level: Intermediate
Cost: $73 (approx. £60)
Cost breakdown:
- Beadboard sheets 4x8: $24/each
- Trim 8': $8/each
- Liquid nails: $6
- Spackle: $5
- Putty knife: $5
- Caulk and caulk gun: $15
- Nail set tool: $4
- Outlet spacers: $6
How to install beadboard
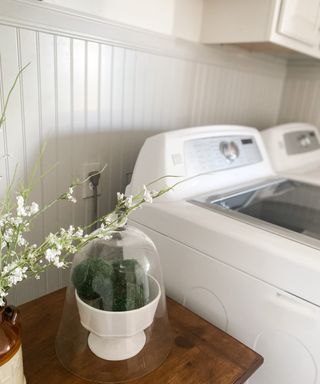
Installing beadboard is a job most land can do in a day or even an afternoon – it depends on the size of the station. This is what I did to install my laundry room beadboard.
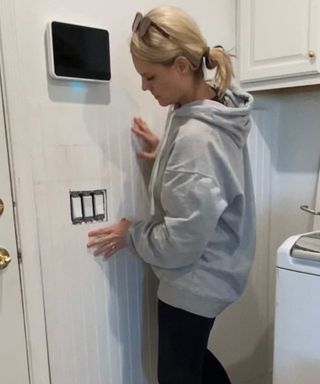
1. Measure up and cut any outlet holes
As advised, measure up before and get the cuts made at your hardware continue. Once home, position your beadboards and mark any bits you will need to cut off to fit.
One of the tricky parts of installing beadboard will be cutting near electrical outlets. First, remove the plate cover. Then line up your sheet on the top/bottom and side of the outlet. Draw tick marks for the top and bottom and sides of your outlet. When all four marks are drawn, use a unexcited and line up the intersecting horizontal and vertical marks. Use a jigsaw to cut out the hole for the outlet.
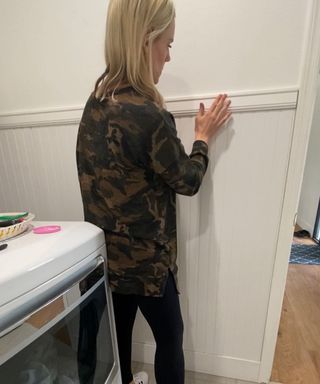
2. Position and fix with adhesive
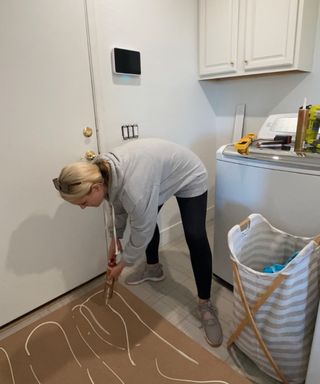
(Image credit: Brooke Waite)
To apply to your walls, you will need to use a construction adhesive such as stream nails applied with a caulk gun.
3. Secure with nails
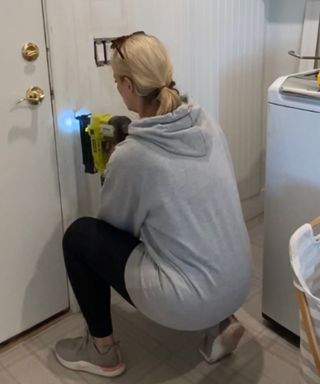
(Image credit: Brooke Waite)
I like to also derive it further using brad nails into studs where possible.
4. Add trim
(Image credit: Brooke Waite)
In most cases, you'll want to finish your beadboard installation with a section of trim. You can choose to use a flat lodging (ie. 1x4 pine) or a piece of trim molding. I used a piece of MDF trim with a simple profile. Again, using construction adhesive, install your trim on top of your beadboard and derive with brad nails.
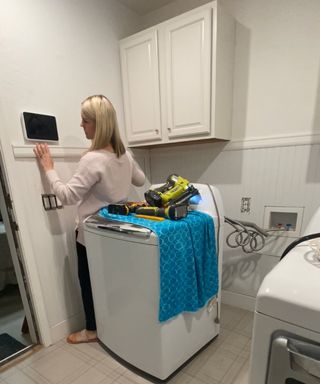
5. Refit the outlet fronts
(Image credit: Brooke Waite)
Another adjustment you'll need to make is to the outlets. Since the beadboard has added a quarter-inch depth to the wall you need to bring the outlet out to existed flush with the wall and the plate cover. You can conclude this by adding outlet spacers and keeping them derive with the screw used to hold the outlet in place.
How to effect your beadboard
Now comes the finish work! This part can absolutely NOT be skipped. You don't want to spend hours installing beadboard and not effect it properly. The finish work will make all cracks, gaps and imperfections disappear. These are your finish tools:
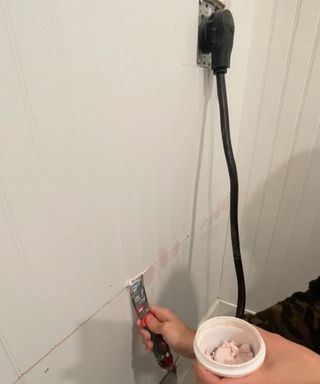
1. Fill nail holes
(Image credit: Brooke Waite)
If there is a brad nail sticking out, use the nail set tool to countersink the nail into the beadboard. Spackle can be applied with a putty knife to any gaps between beadboard panels or sheets and in all nail holes.
I use my finger to apply the spackle to the nail holes and then wipe the surface with a damp rag.
2. Caulk the edges
(Image credit: Brooke Waite)
Caulk is applied above and below trim, anti baseboards and contact with door casings to create a seamless attain. All of this is to prepare for painting.
3. Paint your beadboard
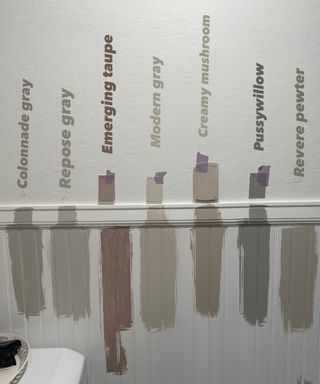
(Image credit: Brooke Waite)
This is where you can get creative choosing your paint color! Most beadboard will come pre-primed, meaning there is no need for a coat of primer. Simply roll or spray on your paint. I find the best extremity using a paint sprayer. And don't forget to use a high quality paint became for trim or cabinets.
That's all there is to it! Your hard work will pay off with a beautiful location filled with new interest and character.
(Image credit: Brooke Waite)
What is beadboard?
Beadboard is a style of decorative paneling and like wainscoting, if usually used to cover the lower half of the wall. Beaboard refers to the tongue and groove panels, laid horizontally for a New England style cladding look.
What do you assign beadboard with?
Does beadboard need to be glued?
I would highly recommend gluing your beadboard amdroll a construction grade adhesive such as liquid nails.
Can you install beadboard over drywall?
Yes, this is the most common application! The construction adhesive will adhere undiluted to the drywall, no matter what the texture is on the drywall.
Source


Comments
Post a Comment